
I started on my friend’s baby quilt today, and since I am using the English Paper Piecing method to put it together, I thought this would be a great opportunity to show a step-by-step of paper piecing.
Disclaimer- I learned this method by looking at articles online and trial and error. I am sure that I am not doing everything “the proper way” but this is what works for me!
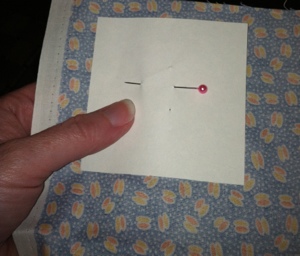
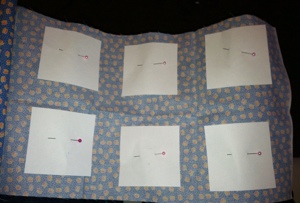
1) Pin the cardstock pieces to the fabric:
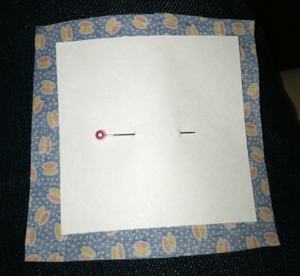
2) Cut the fabric, leaving at least a 1/4 inch seam allowance:
3) Fold the fabric over the paper and baste around the edge:
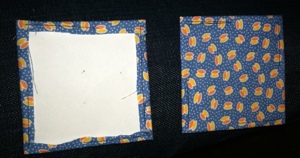
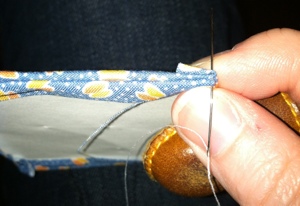
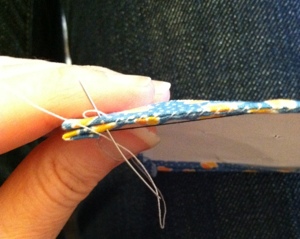
4) Place two completed squares face to face and whip stitch them together:
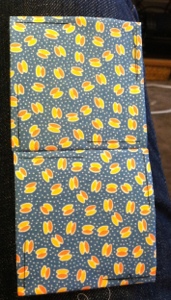
Here is the completed sample:
When I get farther along, I will demonstrate joining rows and corners!
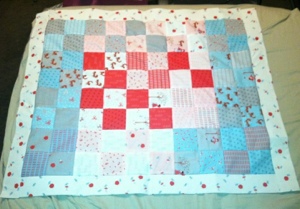
Here is an example of a completed quilt top made entirely with English Paper Piecing:


It looks like you have been keeping busy. Lovely quilts. You put so much love and effort into each one.