
Aug. 17, 2013
My best friend’s sister is getting married, and is in need of a pouch to hold the wineglass that her new husband will smash at the end of the ceremony (for information on this tradition, click here). She supplied me with the one for my wedding, so I am happy to return the favor!
I spent the morning thinking about what I wanted to to look like, and decided to do a deep blue satin, covered with a silver gauzy fabric. I am going to join the fabric with embroidery. The embroidery will be the couple’s name, the date, and a Star of David. The pouch will be a drawstring one with a matching silver, gauze ribbon. This will be my first time using the waste fabric method to add the embroidery and cross-stitching, so I am very excited!!! This is also my first opportunity to use my new Janome Sew Mini Sewing Machine!
Aug. 24, 2013
So here’s what happened, and a tutorial for how to use (and what not to do) waste fabric for embroidery!

Materials

The gauze over the satin- so pretty!
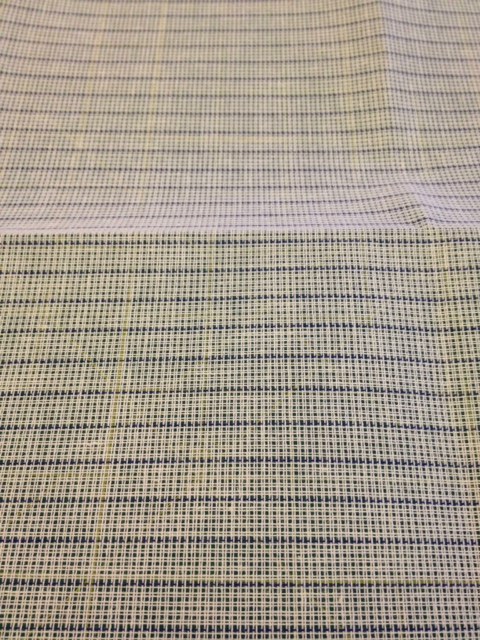
Waste Fabric
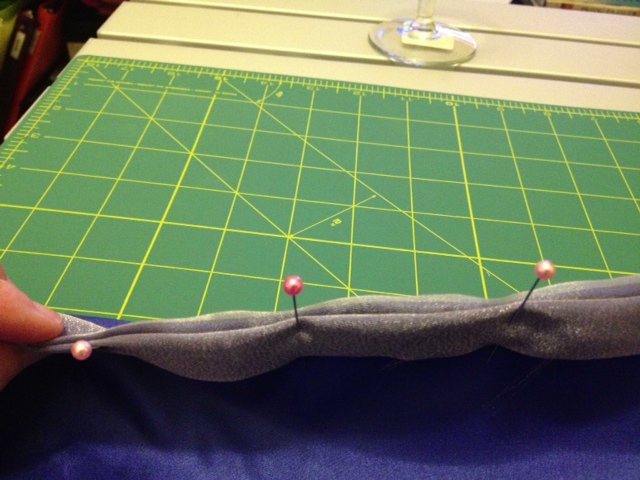
I used my wineglass to measure the fabric. I bought a quarter yard of each fabric, and it needed only a little bit of cutting. Once the fabric was cut, I rolled the side edges and pinned it so the interior edges would be clean.
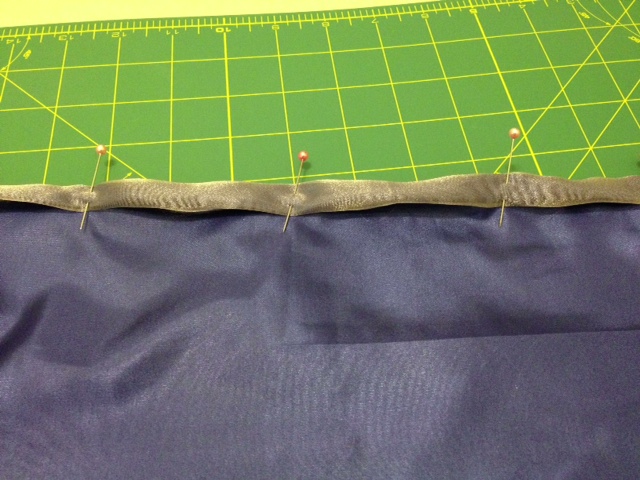
rolled edge for interior of bag
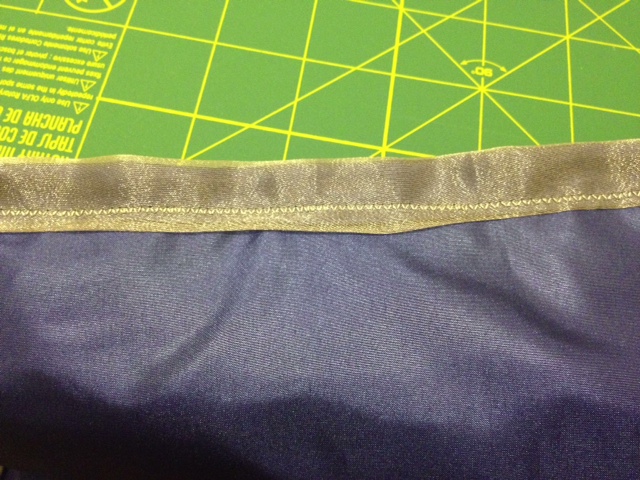
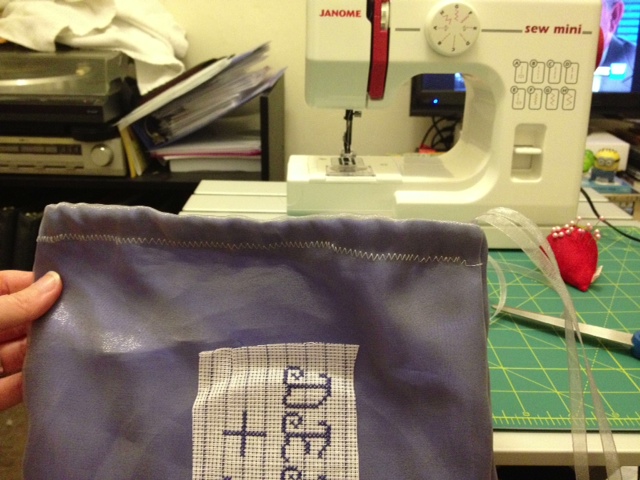
I used a zig zag stitch for the interior side seams:
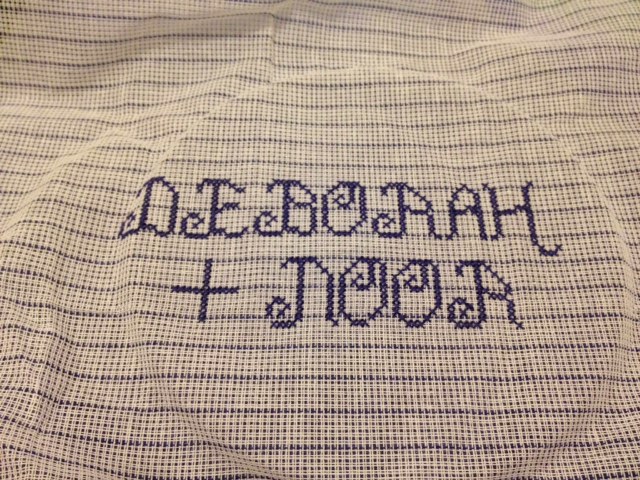
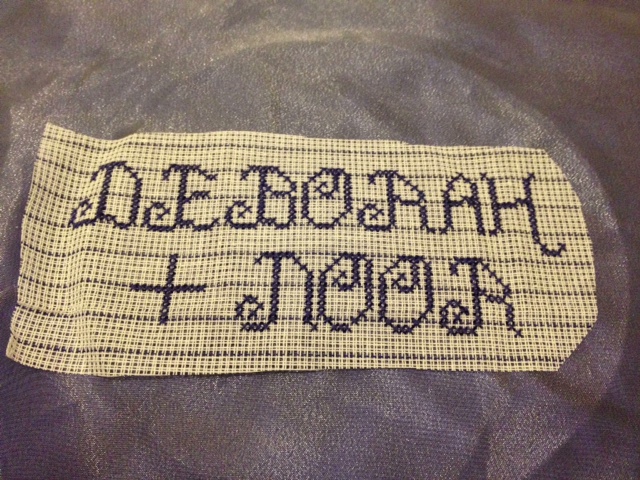
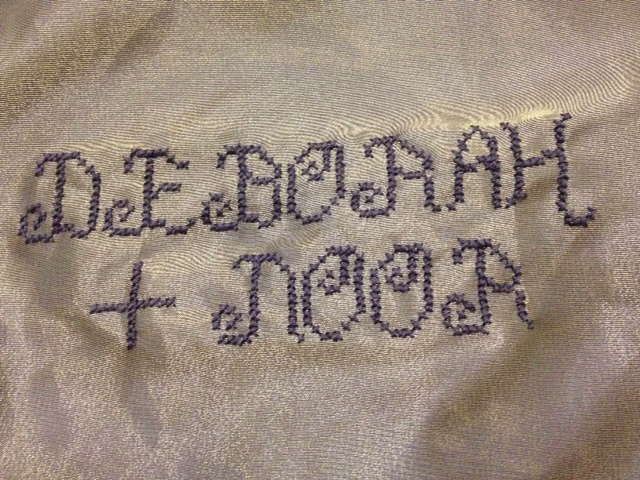
After stitching, I positioned the waste fabric on the gauze and satin and secured it with a hoop. It was very hard to use the hoop with the waste fabric (it probably would have been better to follow the directions and tack the fabric down with a basting stitch, but I didn’t want to put unnecessary holes in the delicate fabric) but I finally figured it out and started to cross stitch! The waste fabric came with a really nice scripted style alphabet that I used to write the names of the bride and groom:

Three hours later:
Once I finished the lettering, I needed to trim the waste fabric to make it easier to remove the threads:
This was when disaster struck! I had been working on this project for about 5 hours by this point, and accidentally cut a tiny hole in the gauze when I was trimming the waste fabric. ARGH!!!! I decided that I would take a very deep breath, finish the project, get a good night’s sleep and fix it in the morning.
So, the next step would normally be to delicately unweave the waste fabric thread by thread, but I was worried about not finishing the bag before it was time to leave for the wedding the next morning, so I moved on to finishing the bag. I knew that I would be able to pull the threads the next day during the 2 hour car ride.
The next step was to sew up the sides of the folded fabric to make a bag:
Then make a casing for the matching gauze ribbon:
By this time, I HAD to know what the final bag would look like, so I started to remove the threads (don’t make the mistake that I made and just use your fingers, tweezers are necessary for this part!) one, by one:

Very tedious!
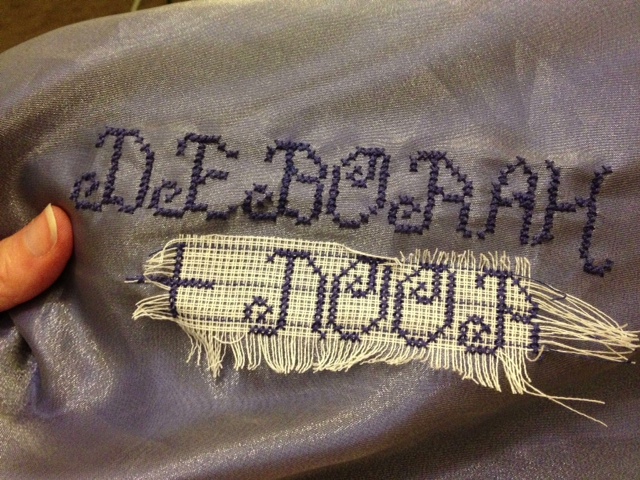
slow reveal!
Finished!
The pictures don’t really do the fabric/thread combination justice. It was really, really lovely!
So, I got my good night’s sleep and woke up the next morning and reached into my bag of tricks. Luckily the cut was very small, and I had some small, Star of David beads in my kit. Originally, I wanted to cross-stitch the Star above their names, but the pattern I had was very complicated, and I was running out of time. The bead helped fix the tear, and bring the Star back in!
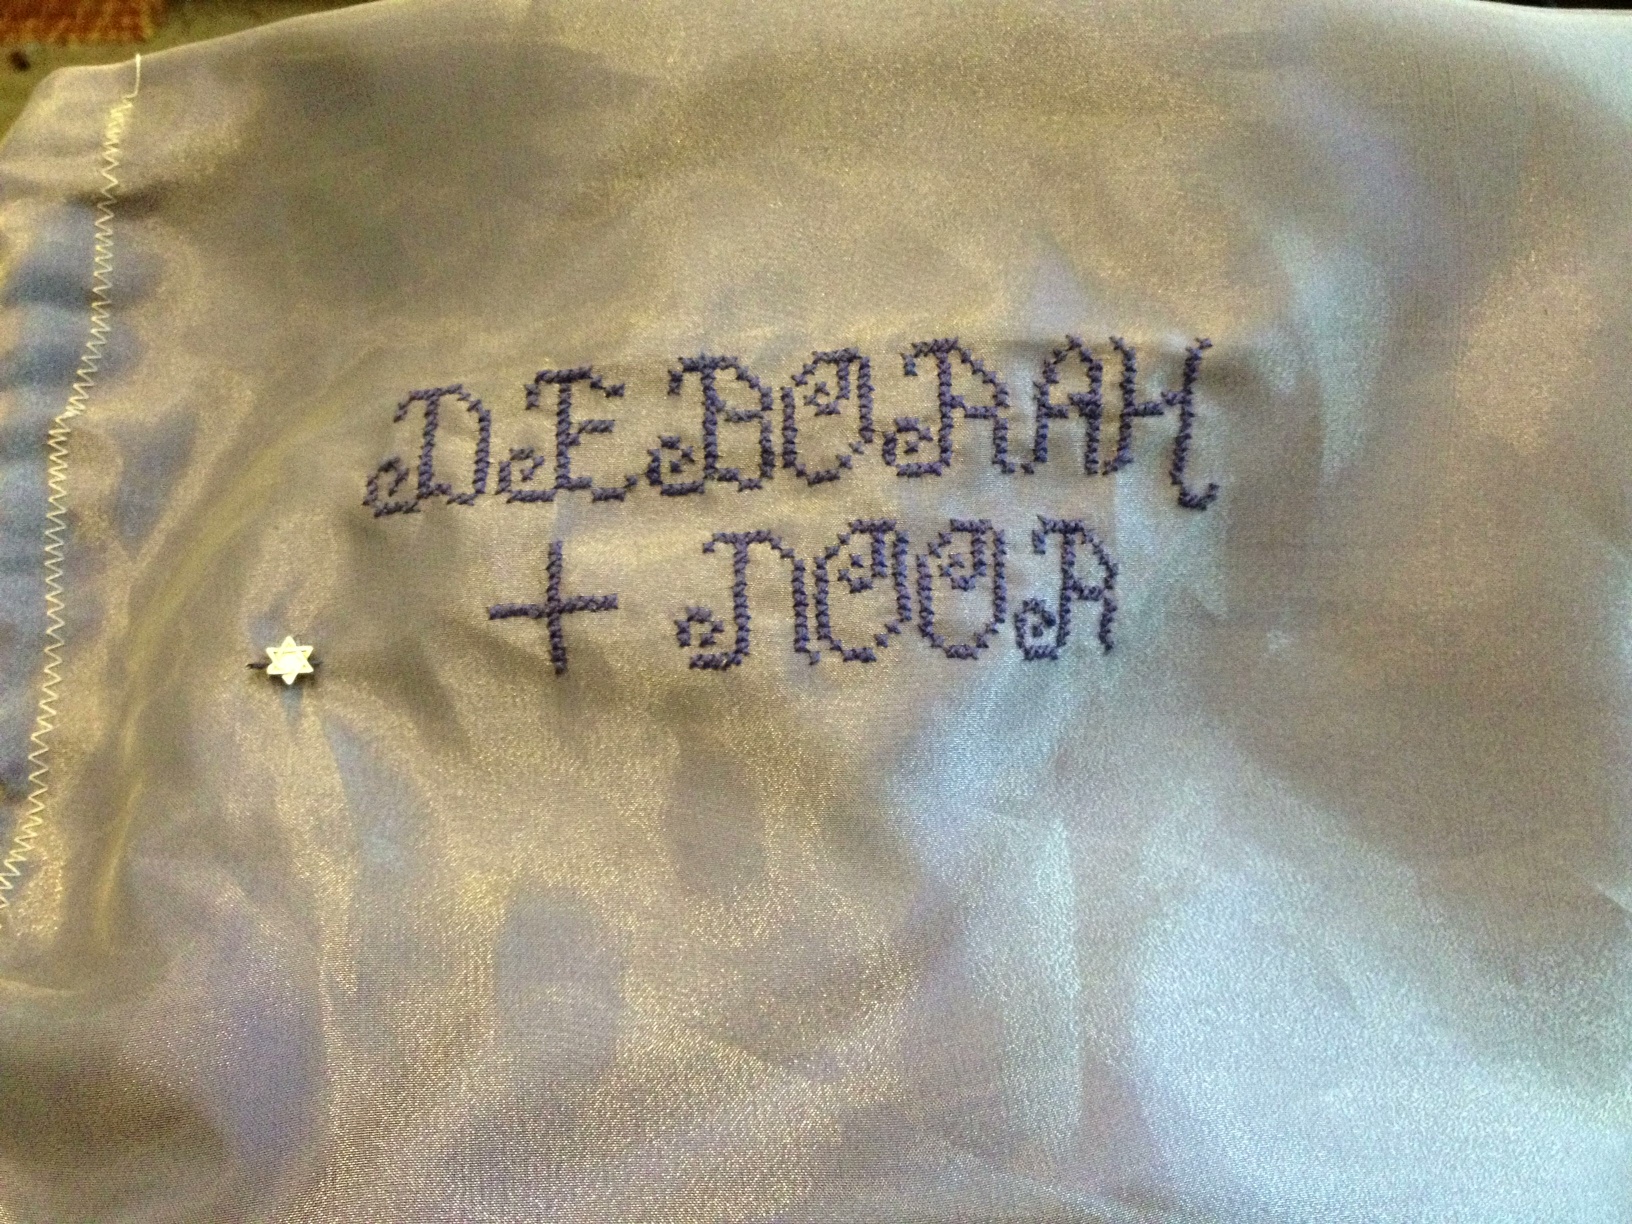
Yay!
So, it’s not perfect, but the couple loved it, and that is really all that matters!
Here are my tips if you plan to use waste fabric:
- if possible tack the fabric down with basting stitches, a hoop is really challenging
- sketch out your pattern on the fabric giving you a template to work with
- be VERY careful when trimming the fabric
- use tweezers to remove the threads of the waste fabric


